Flexbundle is installed
Three short steps to your first bundle.
Step 1 — Mark a product as a bundle
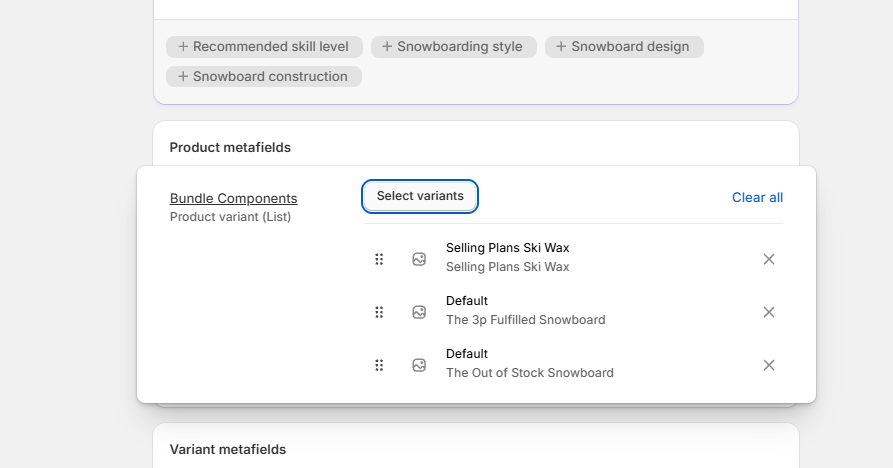
Open the product you want to turn into a bundle (e.g. a "material kit") in your Shopify admin and scroll to the Metafields section.
Find the metafield called Bundle components
(namespace custom.bundle_components) and add every variant that should
be included in the bundle when a customer buys it.
The metafield definition was created automatically during install. If you don't see it on a product, go to Settings → Custom data → Products and confirm the definition is present.
Step 2 — Enable the Flexbundle block in your theme
Open Online Store → Themes → Customize, navigate to a product template, and add a new App block. Choose Flexbundle — Bundle content list from the picker.
Save the theme. The block will only render on products that have bundle components set, so it's safe to enable on the default product template.
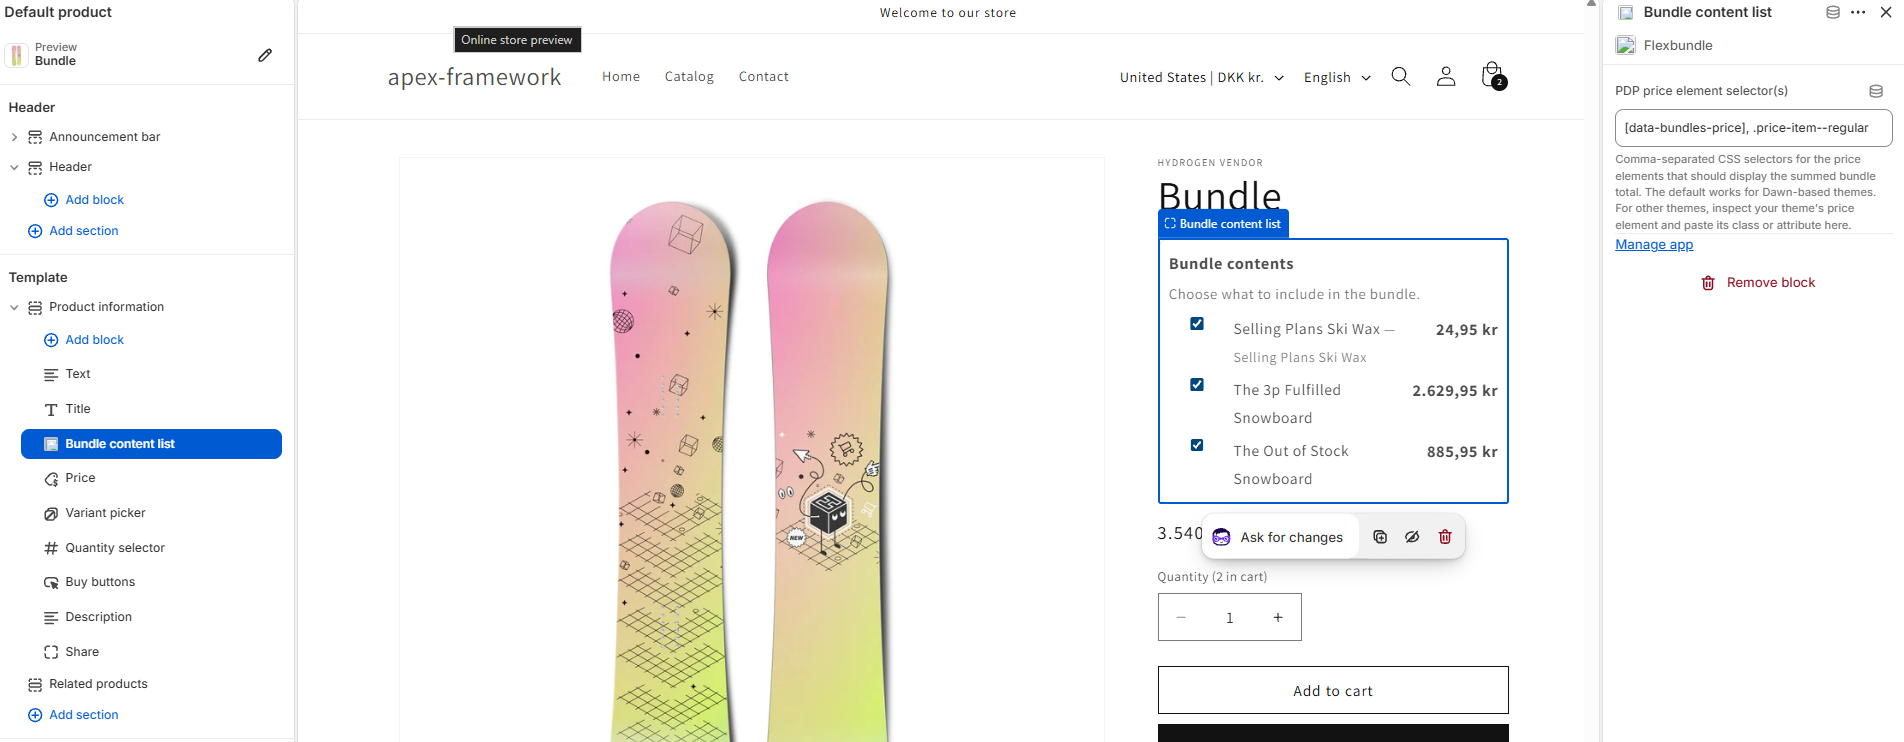
Step 3 — Point Flexbundle at your theme's price element
For the PDP price to reflect the summed bundle total, Flexbundle needs to know which element on your theme renders the product price. In the block's settings, paste a CSS selector for your theme's price element.
For Shopify's Dawn theme and most Dawn derivatives, the default selector is already correct. For other themes:
- Open a product page in your storefront.
- Right-click the price → Inspect.
- Copy the class name on the element (e.g.
.price__regular .price-item). - Paste it into the block setting PDP price selector.
No theme code edits are required — Flexbundle reads the existing element and updates its text content as components are selected.
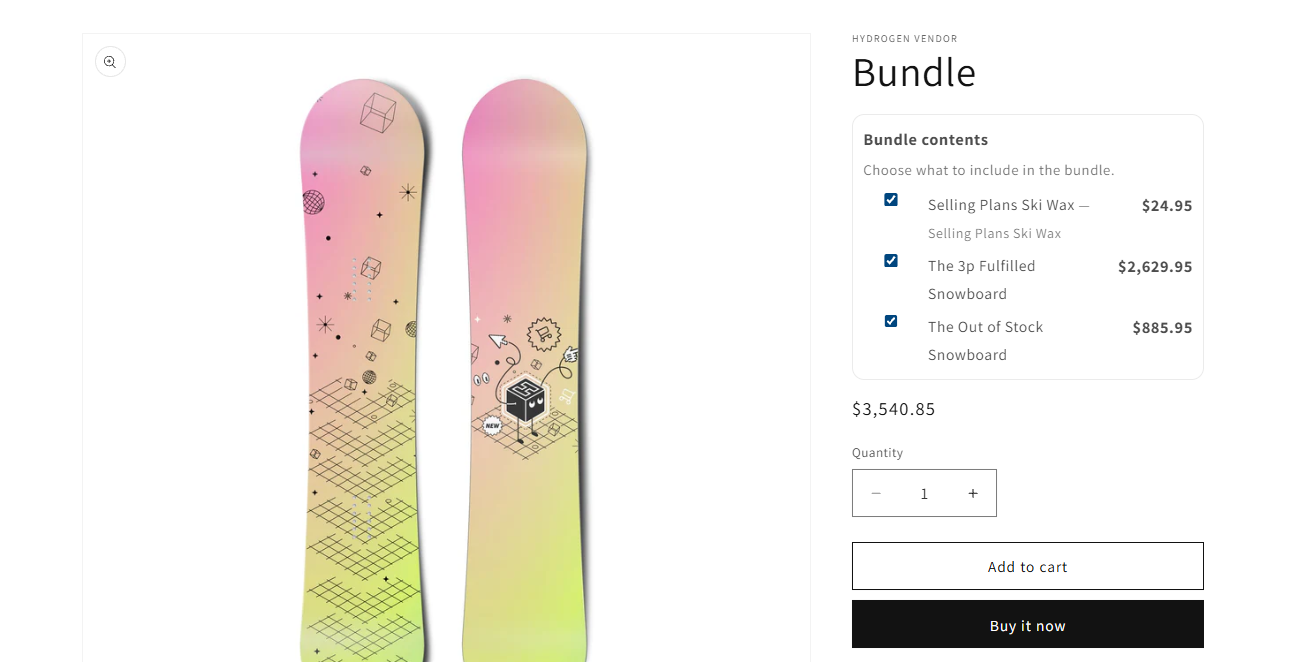
Test the bundle
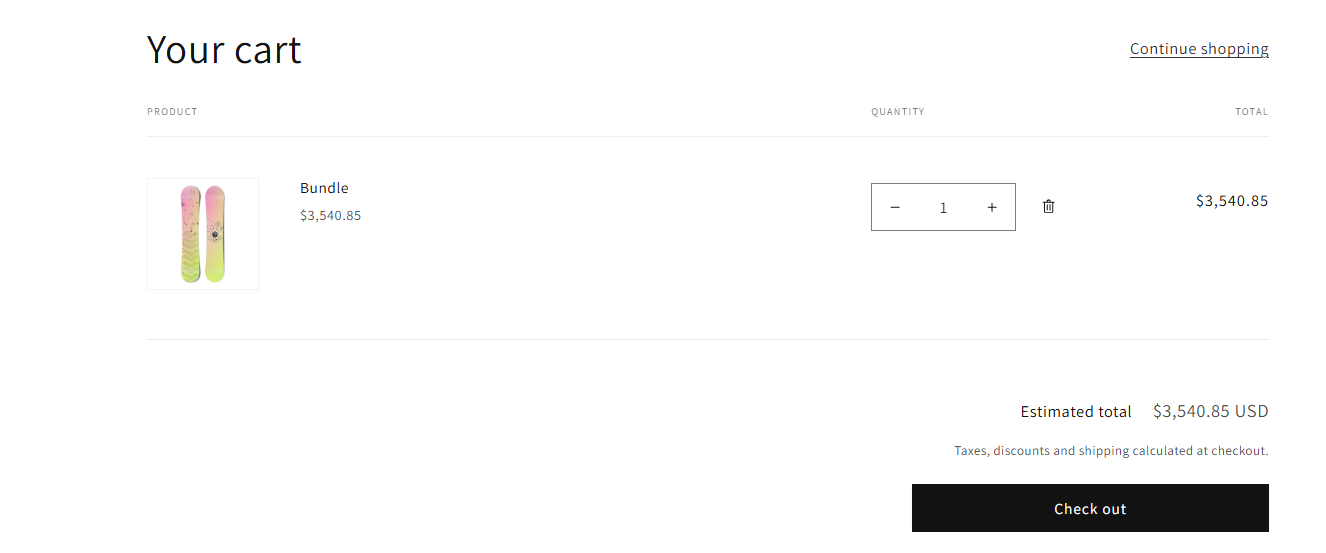
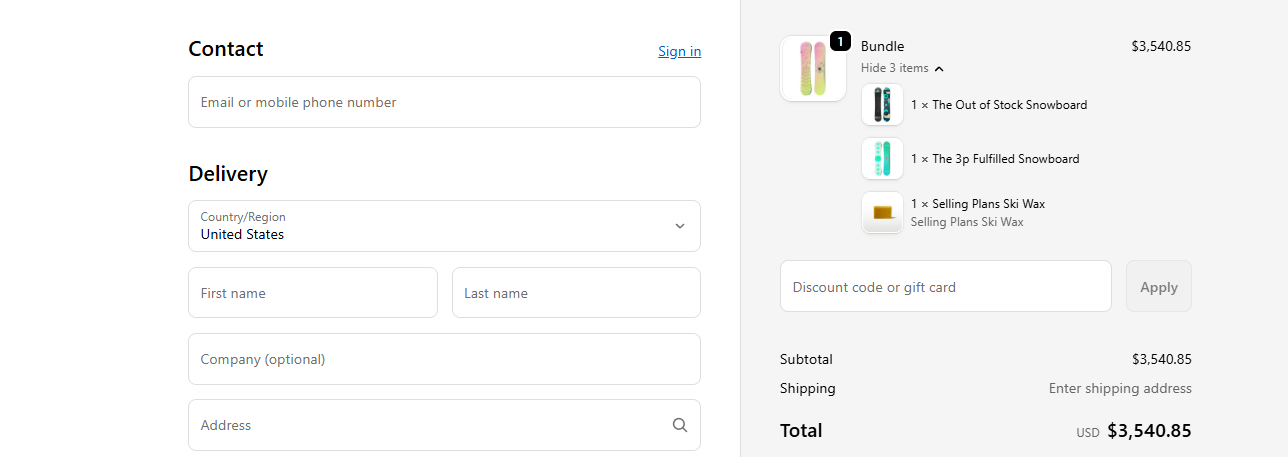
Open the bundle product on your storefront. You should see the component table render, the price update as you toggle components, and — after adding to cart — the bundle appear as a single parent line with nested children in both the cart drawer and at checkout.
Need help?
Email kontakt@bahosting.dk or call +45 41 13 07 79. We typically respond within one business day.